サムネイルとタイトルが横並びに配置
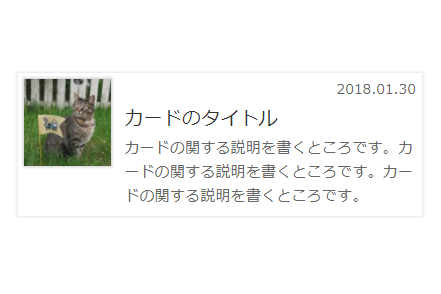
ブログのアーカイブページでよくみる、サムネイルとタイトルが横並びに配置されたカードです。
Source Code
右上の「コピー」からご利用ください。
コピー
<a class="my-parts" href="#">
	<div class="my-parts-img">
		<img src="/assets/images/cat-150x150.jpg" alt="">
	</div>
	<div class="my-parts-body">
		<time>2018.01.30</time>
		<h1 class="my-parts-title">カードのタイトル</h1>
		<p>カードの関する説明を書くところです。カードの関する説明を書くところです。カードの関する説明を書くところです。</p>
	</div>
</a>
コピー
.my-parts {
	display: inline-block;
	text-decoration: none;
	max-width: 100%;
	box-shadow: 0 0 3px 1px rgba(0,0,0,.1);
}
.my-parts::after {
	display: block;
	clear: both;
	content: '';
}
.my-parts .my-parts-img {
	text-align: center;
	width: 100px;
	padding: .4em;
	box-sizing: border-box;
	float: left;
}
.my-parts .my-parts-img img {
	max-width: 100%;
	height: auto;
	vertical-align: bottom;
	margin: 0;
}
.my-parts .my-parts-body {
	width: 60%;
	width: calc(100% - 100px);
	padding: .4em;
	box-sizing: border-box;
	text-align: left;
	float: left;
}
.my-parts .my-parts-body time {
	color: #666;
	font-size: .875em;
	display: block;
	text-align: right;
}
.my-parts .my-parts-title {
	font-size: 1.2em;
	color: #333;
	margin: .4em 0;
}
.my-parts .my-parts-body p {
	font-size: .95em;
	color: #666;
	margin: 0;
}
